Disclosure: Some of the links below are affiliate links. This means that, at zero cost to you, I will earn an affiliate commission if you click through the link and finalize a purchase. Read the full Affiliate Disclosure for more information.
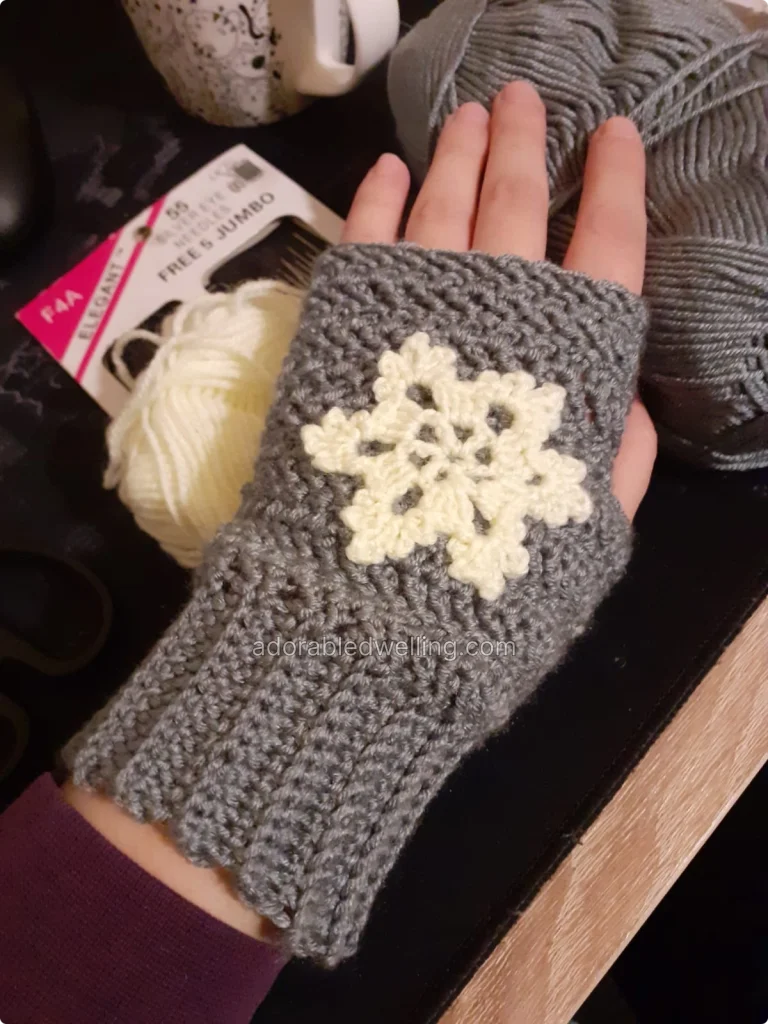
Whether you’re crafting gifts or just spoiling yourself, fingerless mittens are always a win. They keep your hands warm while letting you text, knit, or sip hot cocoa without hassle. This beginner-friendly pattern is easy to follow, with some charming details that’ll have everyone asking where you got them. Let’s dive into the magical world of the Snow Fae’s Fingerless Mittens!
Materials Needed for the Mitten
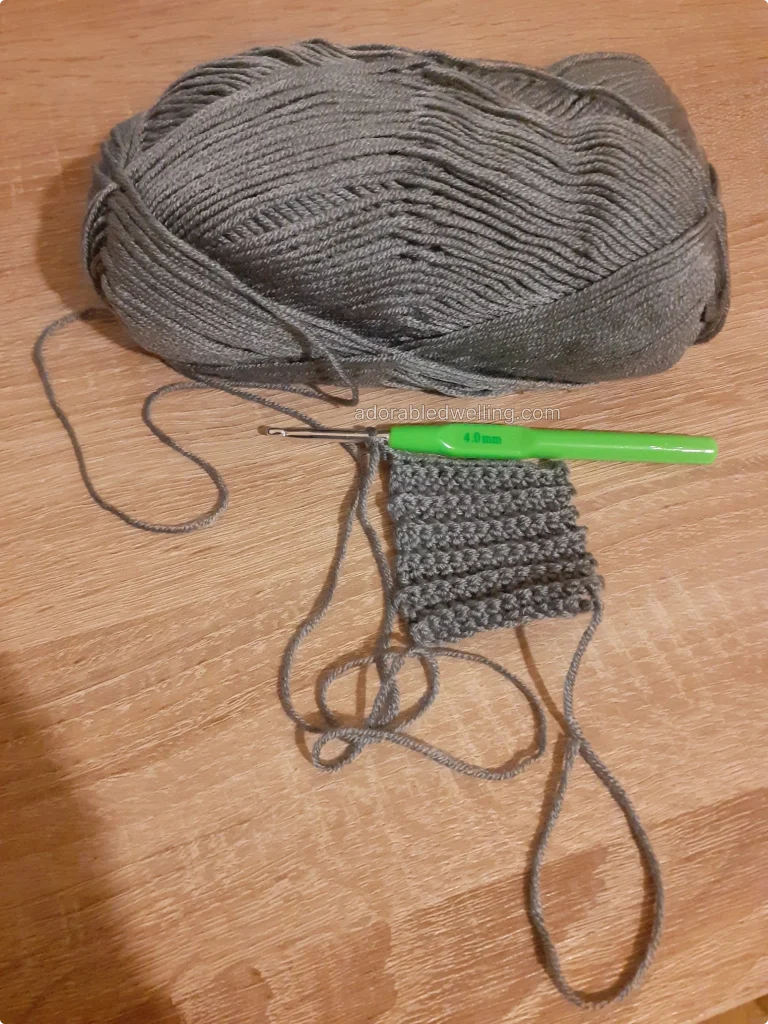
- Light worsted (number 3) weight yarn (the yarn I used is YarnArt Adore in light grey)
- 4 mm hook
- Scissors and needle for finishing
This crochet pattern is made using simple stitches and is beginner-friendly, as long as you remember to turn back when you get to the end of a row.
Stitches Used (US terms)
- SCBL – Single Crochet in Back Loop only – pull one loop through the half of the stitch furthest from you, yarn over and pull through two loops).
- HB – Herringbone Double Crochet:
– Yarn over and pull up a loop (3 loops on the hook);
– Pull the first loop on your hook through the second one (2 loops now on the hook);
– Yarn over and pull through first loop on your hook (2 loops on the hook);
– Yarn over and pull through both of the loops on your hook to finish.
What you get with the HB is a left-leaning stitch. Once you make a row of HB stiches, to get the herringbone pattern, you will have to turn your work, so that your next row has stitches that lean the opposite way. Don’t worry, it’s a lot easier than it sounds, I promise!
How to Make the Cuff
1. CH13, SC in the 2nd CH from hook. Continue working SC until the end of the chain (12 SCs).
2. CH2, SCBL in each SC until the end (12 SCBLs).
Repeat step 2 for a further 31 rows, totaling 33 rows of a ribbed SC. Join back to the starting chain by slip stitching into each of your beginning stitches to close the edge that will sit around the wrist.
You can put the cuff around your wrist, see if it fits and adjust the number of rows accordingly. 33 rows were enough for me.
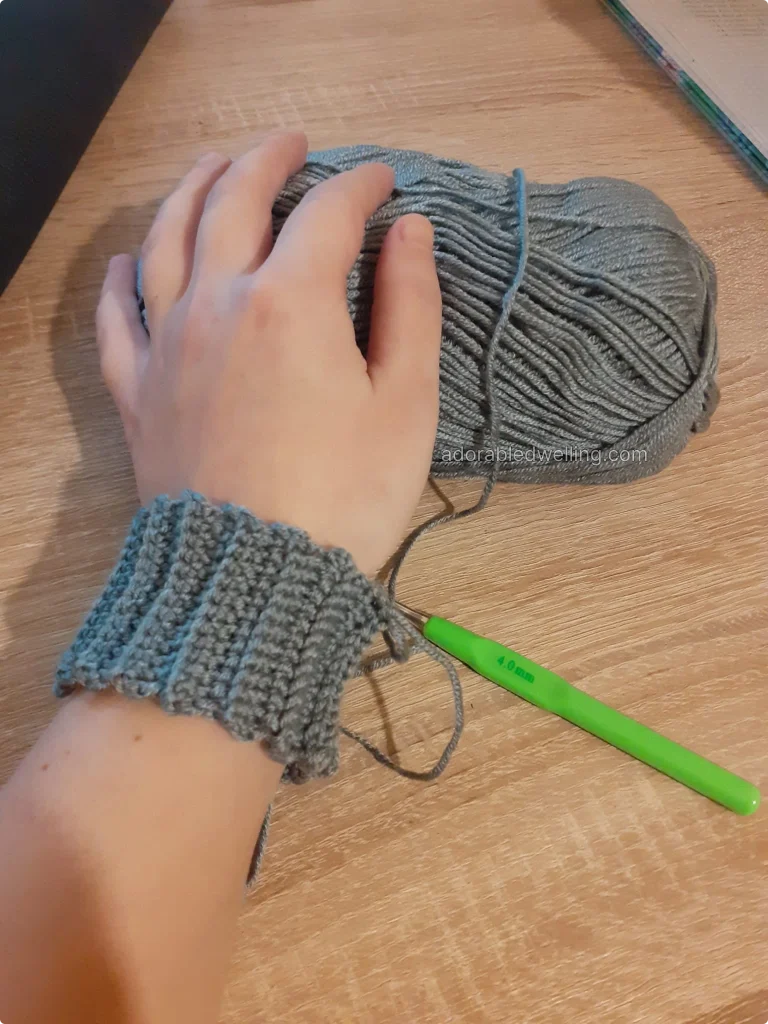
We will continue working from here to start the next stage, so do not fasten off.
Creating the Hand
1. CH2 (this will never count as a stitch) and work 1HB into each of your rows from the previous stage, ending up with an evenly spaced 33 stitches. SS to join (33).
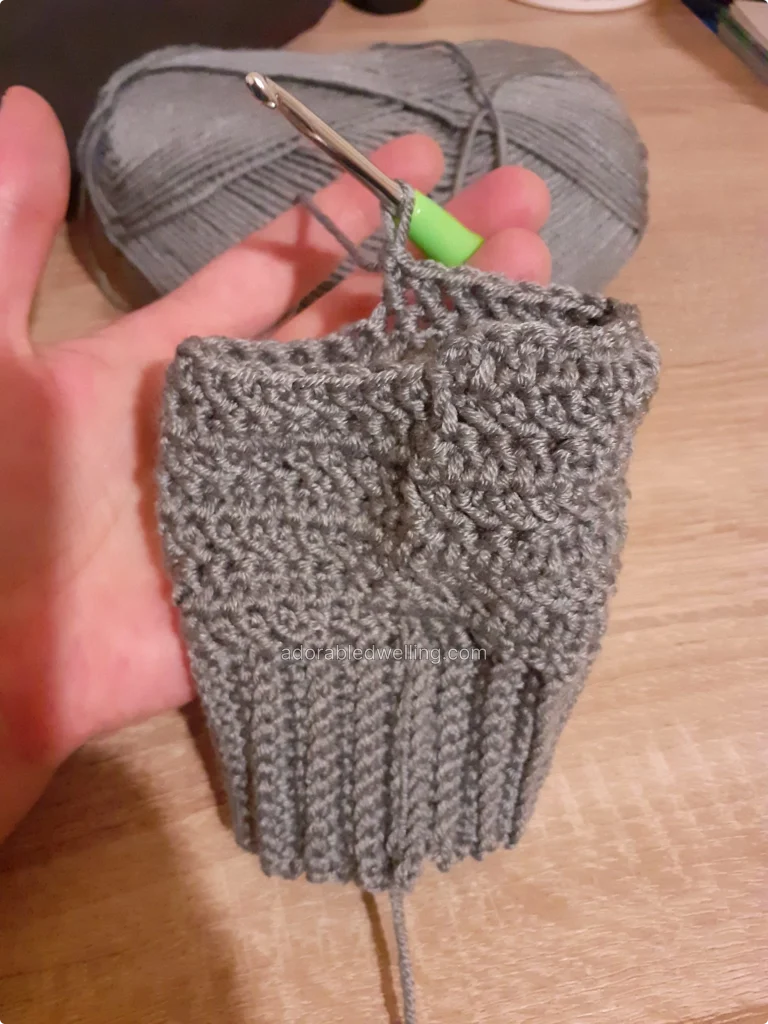
2. CH2 and instead of continuing around, turn your work to stitch back the way we came. Work 1HB in each stitch around. The stitches will be worked from the inside out of the mitten to give us the alternating striped effect. Because the initial CH2 does not count as a stitch, also work 1HB in the stitch from where the CH2 comes (to avoid decreasing by accident). SS to join (33).
This is what I mean by working from the inside out of the mitten – see the photo below. I am stitching a row in the opposite direction.
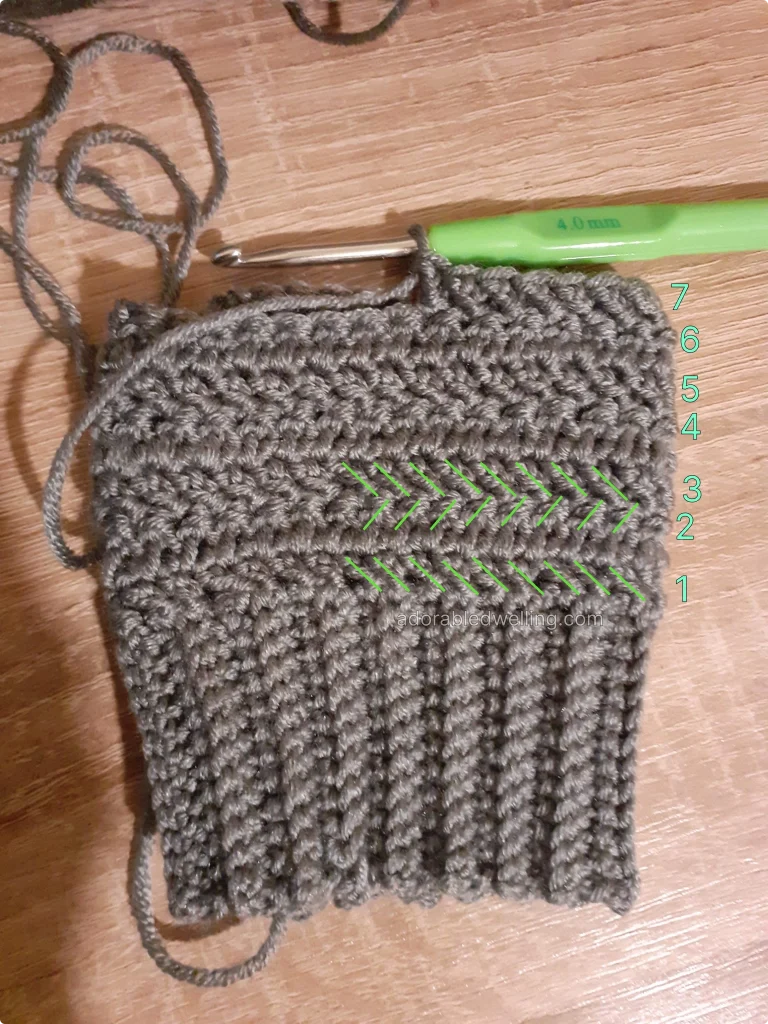
Repeat step 2 until you have a total of 8 alternating herringbone stitch rows. I will show you how to count the rows in the picture below.
NOTE: I made these mittens for a friend who has long, elegant hands, unlike mine, which are square-ish. If your hands are short, rather than long, you will need to adjust the number of alternating herringbone stitches accordingly.
3. At the end of row 8, do not CH2. Instead, SS into the next 5 stitches. CH2 and work 1HB in each stitch for a count of 25. SS after the 25th HB across to the 1st HB. The stitches we have skipped will make thumb space (25).
4. CH2, turn your work and repeat 1HB in each stitch, in the opposite direction (25).
Repeat step 4 for a total of 5 rows.
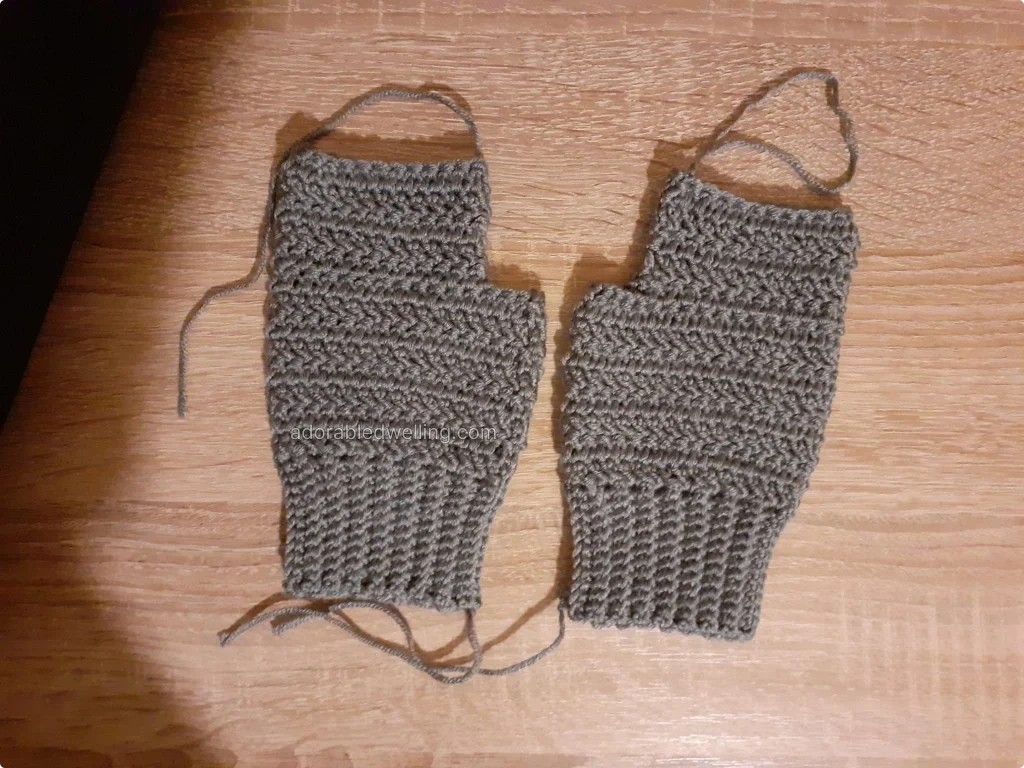
SS to close and weave in ends. Repeat all steps for the 2nd hand.
The original pattern for these mittens you can find here. I adjusted it for a lighter yarn weight, a smaller hook size, and in order for the mittens to fit my friend’s hand shape.
The Snowflake Crochet Pattern
What’s a Snow Fae mitten without a touch of winter magic?
To crochet the snowflake, I followed the original pattern published here.
Materials Needed for the Snowflake
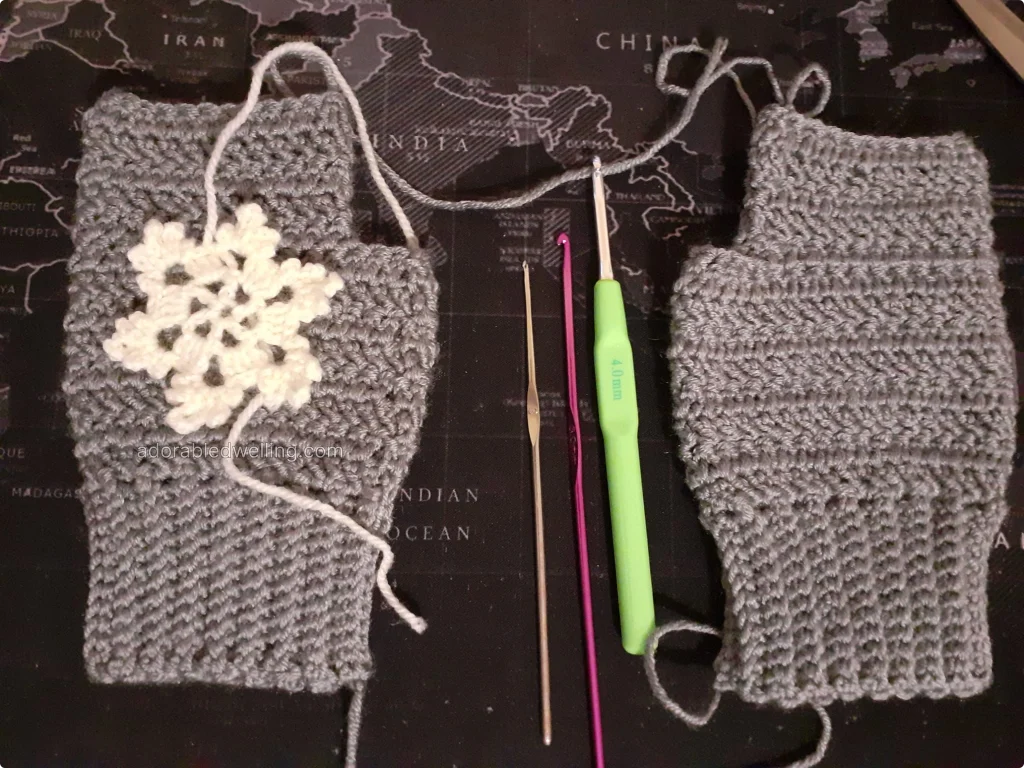
I used some light-DK warm white yarn I had lying around and a vintage, steel crochet hook my grandmother gave to me.
This crochet hook only has a mysterious number 3 stamped on it. I am not sure what size hook it is. I placed the 4 mm crochet hook I used for the mittens beside it so you could compare them.
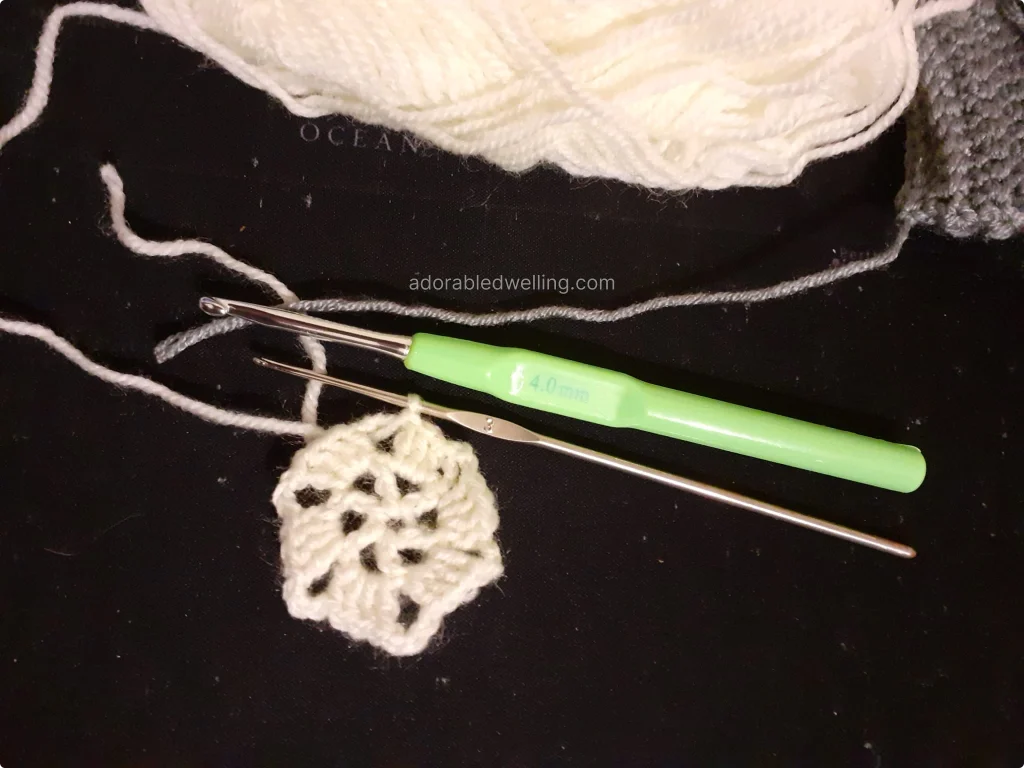
In any case, it was almost too small for the yarn weight I used and it kept snagging the yarn, but I loved the end result: a compact snowflake, with a slight halo of fuzz. And perfectly sized for the back of my mittens!
Assembling the Snow Fae’s Mittens
For me, sewing the snowflake to the back of the mitten was probably the most laborious part in making this whole project. What made the work a bit difficult is the small space inside the mitten, but with a bit of patience and focus, it’s definitely doable.
Start securing the center of the snowflake first, then secure every chain you made in the final round of the snowflake (the ones on the edge).
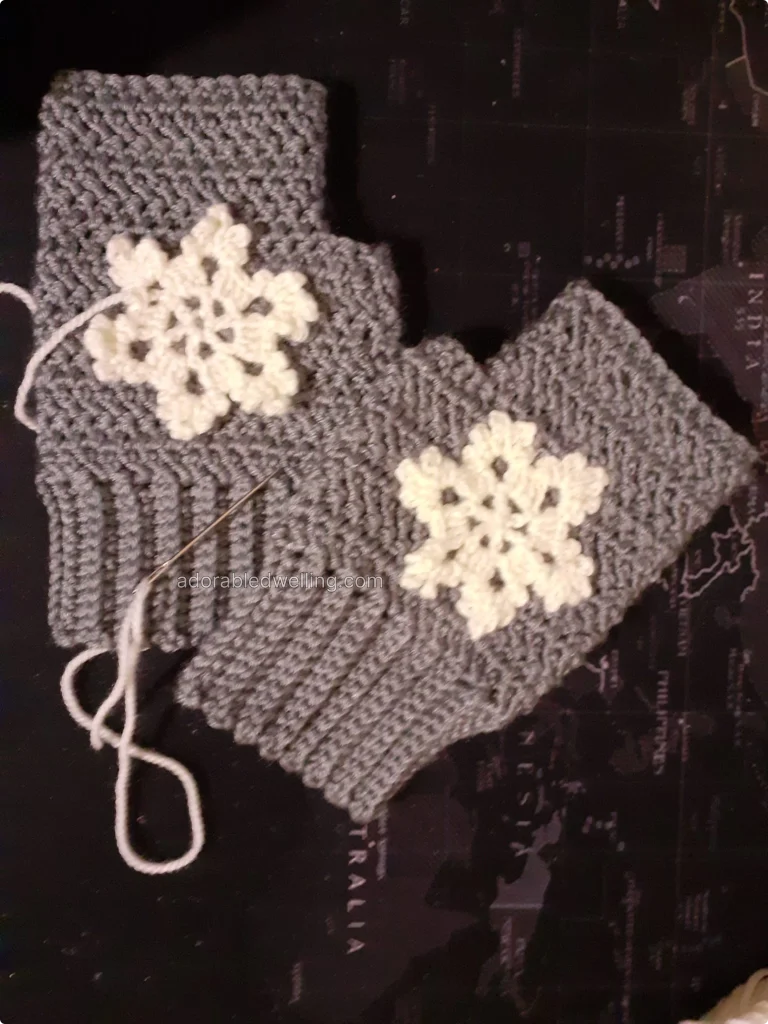
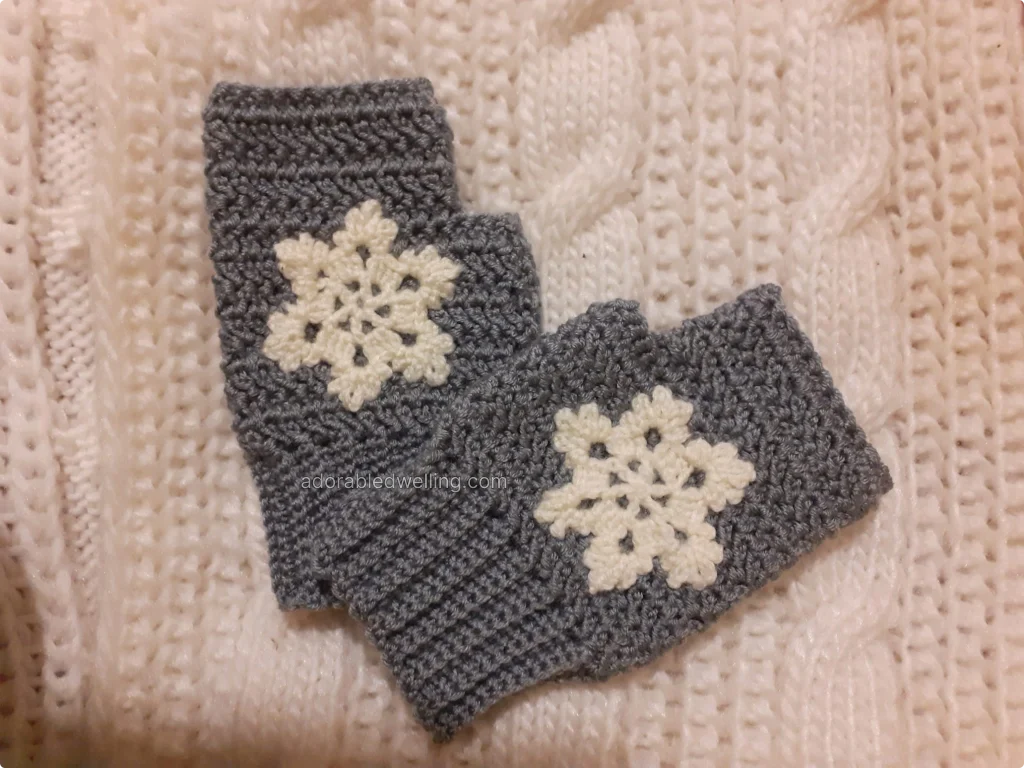
And voila, you have yourself the Snow Fae’s Fingerless Mittens! Congratulations! You now have a a pair of whimsical, wintry mittens perfect for chilly days or gifting to someone special. Whether you’re crocheting by the fire or just binge-watching your favorite series, this project is a cozy delight. So grab your hook, yarn, and maybe a cup of tea—it’s time to channel your inner Snow Fae!